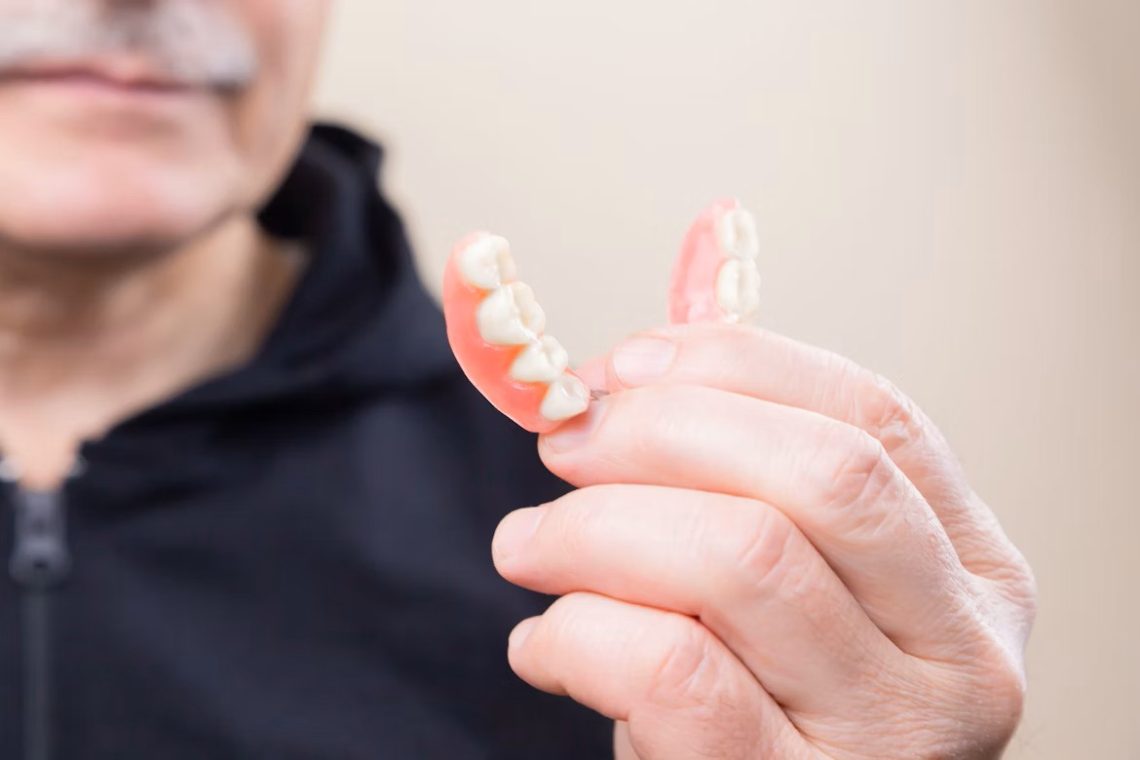
If a denture cracks, a tooth comes loose, or a partial breaks, it can feel urgent and stressful. Knowing the proper steps for how to fix a broken denture tooth at home can prevent further damage and reduce discomfort while waiting for professional care. This guide explains how to fix broken dentures at home safely and sensibly, along with guidance on when it’s best to reach out to a professional. Let’s get started on restoring your smile.
How do broken dentures happen?
Common causes
Dentures are durable but not indestructible. Typical causes of damage include accidental drops on hard floors, sudden pressure from biting into hard foods, and wear and fatigue of acrylic over years of use. Additionally, a poor fit can concentrate stress on a specific point, and metal clasps on partial dentures may experience corrosion or bending. Even a small hairline crack left unattended can grow into a full break over weeks.
Risks of continuing to wear damaged dentures
Wearing a damaged denture increases the risk of mouth sore formation, uneven chewing that strains remaining teeth or jaw joints, swallowing of loose fragments, and infection if cracks harbour trapped food and bacteria. If the denture’s fit changes after a repair, it can cause pressure points and ulceration. For safety, know the limits of home repair and check the result carefully before regular use.

What you need to know about denture damage types
Understanding the type of damage helps decide whether a temporary home repair is sensible or whether professional intervention is required. Here are five common types of denture damage you may encounter.
5 types of denture damage
| Damage type | Description | Likely home repair? | Typical source / note |
|---|---|---|---|
| Loose denture tooth | Tooth detached from base but intact | Yes — emergency glue from dental kit for short term | Temporary only; re-bonding by technician recommended |
| Small chip in an acrylic tooth | Minor loss of enamel on denture tooth edge; cosmetic but can be sharp | Yes — cosmetic repair kit works | Often from knocking against cutlery; check for sharp edges |
| Hairline crack in the base | Thin crack in acrylic base without separation | Sometimes — temporary fix possible with resin kit | Can worsen; monitor and seek professional repair within days |
| Metal framework or broken clasp (partial) | Deformed or fractured metal components | No — needs professional adjustment | Metal repairs require equipment and expertise |
| Full break (denture split in two) | Denture base separates into two or more pieces | No — professional weld or relining advised | Risk of misalignment; do not attempt superglue |
| Sources: Practice clinical guidance; denture manufacturers’ care notes and at-home repair resources. | |||
How to fix a broken denture tooth at home: Is home repair possible?
Many patients ask dentists how to fix a broken denture tooth at home safely, especially when a tooth detaches suddenly during a meal. In fact, minor chips, small tooth reattachments and tiny cracks can be managed temporarily at home with the right supplies and a careful technique. Home repair can buy you time until you reach a dental laboratory or clinic. However, be mindful of the limits — structural failures, metal damage and splits that affect fit should be left to professionals.
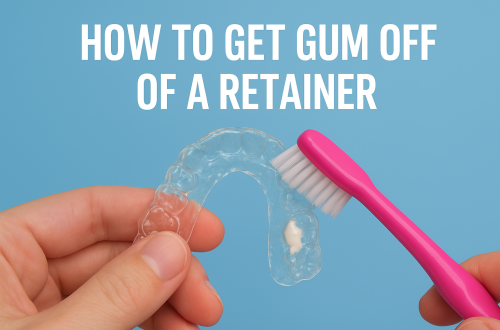
Minor cracks and chips: Use DIY kits
Home denture repair kits designed for consumers are intended for temporary repairs of minor damage, such as a chipped tooth edge, hairline cracks, or a tooth that has become loose. Learning how to fix a broken denture tooth at home safely with these kits can prevent further damage and reduce discomfort while waiting for professional care.
Most kits include several essential components:
- Bonding resin: An acrylic-based material that can seal cracks or reattach a loose tooth. Some kits provide a powder-and-liquid system that you mix just before use, while others offer pre-mixed gels for convenience.
- Activator or curing solution: Certain resins require a curing liquid or activator to harden properly. Always follow the kit instructions, as curing times vary between brands.
- Applicators and mixing tools: Small spatulas, brushes, syringes, or sticks help apply resin precisely to the damaged area without spilling onto the rest of the denture.
- Dental wax: Can hold a tooth in place for a short period. Safe, but not a permanent solution. This can be a temporary step when learning how to fix a broken denture tooth at home.
- Super glue: Only for desperate cases and never for dentures in the mouth. Use externally on dry pieces, as contact with oral tissue is unsafe.
While DIY kits can be effective for temporary fixes, remember that long-term durability is limited. Knowing how to fix a broken denture tooth at home is helpful, but professional repair is recommended for permanent restoration.
| Use case | Home kit suitability | How long it may hold | Source / note |
|---|---|---|---|
| Chipped tooth edge | High | Weeks to months (cosmetic) | Consumer denture repair guidance |
| Loose tooth | Moderate (temporary) | Days to weeks — until professional re-bonding | Some kits offer re-bonding materials; lab reattachment preferred |
| Hairline crack | Moderate to low | Short-term; monitor daily | Temporary home fix; kits available at pharmacies |
Key tip: Always monitor temporary repairs daily and schedule professional denture repair as soon as possible to avoid further damage or discomfort. Following proper instructions is crucial when learning how to fix a broken denture tooth at home effectively.
When You Shouldn’t Fix Broken Dentures at Home
While it is possible to learn how to fix a broken denture tooth at home, some cracks and loose teeth are best handled by a professional to avoid long-term damage. It’s just as important to know when not to attempt a home repair. Attempting the wrong fix can make a denture irreparable or cause injury.
Severe damage: full break in half, metal framework damage
If the denture has split cleanly into two parts, the alignment will almost certainly be off once glued; chewing forces will likely break the repair again. If a partial’s metal framework or clasp is bent, fractured or missing, do not attempt to bend or glue metal — these require laboratory tools to re-fabricate or re-solder. For such cases, keep all pieces dry and bring them to a dental clinic promptly.
Step-by-step: How to fix broken dentures at home safely
This guide includes step-by-step instructions on how to fix a broken denture tooth at home using a denture repair kit. If you decide a home repair is appropriate, follow these careful steps. Think of a home repair as an emergency, temporary measure to restore function and comfort until you can have a professional do a permanent repair.
Step 1: Gather supplies including a denture repair kit (how to repair broken false teeth)
You’ll need: a reputable denture repair kit (commercially available), disposable gloves, a soft toothbrush, mild soap, a clean towel, small containers for soaking and mixing, paper towel, and a mirror. If the kit’s instructions reference a laboratory brand or professional product, read warnings carefully.
- Check the kit contains adhesive or resin, applicator tools, and curing instructions.
- Do not substitute household adhesives such as cyanoacrylate (super glue) or epoxy — these are toxic and brittle.
Step 2: Clean and dry the denture thoroughly
Rinse the denture under cool running water to remove food debris. Use a soft toothbrush and mild soap (or denture cleaner) to gently clean the repair area. Dry thoroughly with a lint-free towel; most repair resins bond best to a dry surface. Never use boiling or very hot water — heat can distort acrylic.
Step 3: Align and apply repair material or adhesive
With gloves on, dry-fit the pieces to get alignment right. Some kits provide a clamp or quick-set resin; follow the manufacturer instructions for mixing ratios. Apply a thin, even layer of the repair resin to both mating surfaces. Avoid excess — squeeze out can irritate your gums later.
Step 4: Hold the denture pieces together and allow to cure properly
Maintain precise alignment while the material sets. Some kits cure quickly in minutes; others require a longer, room-temperature cure. Use a clamp if supplied, or carefully hold the pieces together on a clean surface with minimal movement. Do not stress the repair by fitting the denture into the mouth until the full cure time elapses.
Step 5: Finish, check fit, polish, test before normal use
Remove any excess resin with a fine file or the kit’s finishing tool. Rinse and inspect the repaired area; look for sharp edges and smooth them out. Test the fit gently — press the denture into place with your fingers, not by biting. Start with soft foods for 24–48 hours and re-check for comfort, stability and any pressure spots. Even if you know how to fix a broken denture tooth at home, always check that the bite remains comfortable and avoid hard foods until the repair is professionally assessed.
| Step | Action | Time estimate | |
|---|---|---|---|
| 1 | Gather kit and supplies | 10–20 minutes | |
| 2 | Clean and dry | 5–10 minutes | |
| 3 | Align and apply resin | 5–15 minutes | |
| 4 | Hold until cured | Minutes to hours (kit dependent) | |
| 5 | Finish, polish and test | 10–30 minutes | |
| Source: Consumer dental repair kit instructions and clinical practice notes. | |||
How to fix a partial denture at home: Mistakes to Avoid
While it may be tempting to attempt quick fixes, certain methods can make a minor problem worse. Knowing common pitfalls ensures that temporary repairs do not become permanent issues and that you preserve the longevity of your denture.
Using household glues or adhesives in your mouth
Household adhesives such as super glue, epoxy, or Krazy Glue are toxic if used in the mouth. They bond unpredictably and create a brittle joint that can shatter under chewing pressure. Epoxies and other non-dental adhesives release chemicals that are not safe for oral use, and attempting such fixes often prevents proper professional repair in the future. Even if you are trying to learn how to fix a broken denture tooth at home, always stick to dental-approved repair kits or temporary dental wax.
Trying to grind or reshape the denture yourself
Cutting, filing, or reshaping a denture on your own can permanently ruin its fit. Misalignment can lead to bite issues, jaw discomfort, and uneven pressure on natural teeth. If a partial has a loose acrylic tooth or a chipped acrylic base, you may stabilise it temporarily using a consumer repair kit. However, if a clasp has bent or the metal framework is damaged, do not attempt to bend or solder the metal yourself. Improper handling can permanently deform the clasp, jeopardising the fit and increasing pressure on surrounding teeth. Store the denture in a padded container and arrange professional repair, such as relining or clasp replacement.
Chewing hard foods on a broken denture
Even minor cracks or temporary repairs are vulnerable to pressure. Chewing hard foods can worsen the break or cause the repair to fail. While temporary fixes may provide short-term relief, they are not strong enough to handle normal chewing forces.
Not cleaning before repair
Dirt, saliva, or food residue prevents bonding agents from adhering properly. Before attempting any temporary repair, thoroughly clean and dry the denture. This ensures the repair kit or wax bonds effectively and increases the chances of a successful temporary fix.
Delaying professional repair
Home repairs are only a stopgap solution. Dentures with broken teeth or cracks require professional re-basing, relining, or replacement for a safe and durable result. Delaying a professional repair may cause the denture to break further, distort the fit, or damage oral tissues. Even if you know how to fix a broken denture tooth at home temporarily, always follow up with a visit to a dental clinic to ensure a proper, long-lasting restoration.
Maintenance and prevention: keep your dentures strong
Prevention is the best strategy. Proper care extends denture life and reduces the chance you’ll need emergency repairs.
Proper cleaning and handling habits
Clean dentures daily with a soft brush and denture cleanser. Remove them at night and soak as recommended by the manufacturer. Always handle over a folded towel or a bowl of water to reduce the risk of dropping them onto a hard surface. Avoid hot water that can warp acrylic.
Storage, check-ups and recognising when to get new dentures
Store dentures in a labelled container with denture soak when not in use. Have regular dental check-ups to assess fit; teeth shifting and jawbone changes mean dentures that once fit well can become loose over months to years. Replace dentures that have persistent fit issues, recurrent fractures, or worn teeth that compromise chewing.
Professional Denture Repair Services
Professional repairs are done in clinic or by a dental laboratory. Typical services include relining to improve fit, acrylic patching, tooth replacement, rebasing (replacing the entire base material) and metal framework repair. Lab repairs use specialised materials and equipment and generally last much longer than consumer kits. If your repair involves occlusion (bite), a dentist will check and adjust it to avoid jaw pain or sore spots.
Practical checklist: immediate steps when your denture breaks
- Keep calm and collect all broken pieces.
- Rinse pieces under cool running water and store in a labelled, padded container.
- Assess type of damage (chip, crack, split, metal damage).
- If minor and you have a reputable kit, follow the step-by-step instructions for a temporary repair.
- Avoid eating hard or sticky foods; chew on the opposite side if possible.
- Book a dental appointment for a professional repair or assessment.
Conclusion
Knowing how to fix broken dentures at home can save you discomfort and time in a minor emergency, but exercise caution: use only approved denture repair kits, avoid household adhesives, and treat home repairs as temporary measures. For major breaks, metal damage, or any repair that affects fit, seek professional denture services promptly to protect your oral health.
Frequently Asked Questions
How long can I safely use a home-repaired denture?
A home repair is usually temporary. Expect a consumer repair to hold from a few days to several weeks; in some cosmetic cases it may last a few months. Use the repaired denture gently (soft foods only) and arrange a professional repair as soon as possible to ensure safety and comfort.
Can I repair a broken tooth in my denture at home?
Yes, you can often reattach or repair a detached denture tooth using a consumer denture repair kit. Clean and dry the area, use the kit’s bonding resin as instructed, and allow the full curing time. Treat this as a short-term fix and book a professional reattachment for a longer-lasting result.
What’s the difference between using a kit and seeing a professional?
Home kits provide quick, temporary fixes suitable for minor chips and loose teeth. Professional repair uses lab-grade materials and equipment, offers better strength and fit, and includes occlusal adjustment. For anything structural, especially metal work, choose a professional.
Will a home repair kit work on partial dentures?
It depends. Acrylic and tooth repairs on a partial can often be temporarily stabilised with a kit. However, if a clasp or metal framework is damaged, a kit will not help — metal repairs require professional laboratory work.
How long does a denture repair take?
Home repairs: from 30 minutes to a few hours depending on cure time. Professional repairs: simple tooth reattachments can take a day; relines or more complex laboratory work may take 2–7 business days, depending on clinic or laboratory scheduling.
If you follow these steps and respect the limits of consumer repairs, you can manage many minor denture problems safely at home while you arrange for a durable, professional solution.
References
- Penn Pacific Dental Center. https://www.ppdental.com.sg/
-
Penn Dental Family Practice. “How to Fix Broken Dentures at Home.” MyPennDentist.org, 18 Oct. 2022. https://mypenndentist.org/dental-tips/2022/10/18/how-to-fix-broken-dentures-at-home
-
NewMouth. “Denture Repair: Cost, Types, Quick Fixes, and Care Tips.” NewMouth.com. https://www.newmouth.com/dentistry/restorative/dentures/repair/
-
European Denture Centre. “Denture Repair: Things You Need to Know.” EuroDenture.com, blog. https://eurodenture.com/blog/denture-repair-things-you-need-to-know/
-
Sage Dental. “Broken Dentures.” SageDental.com.au – Emergency Dental Care. https://www.sagedental.com.au/emergency-dental-care/broken-dentures/
-
Polident®. “What to Do with Broken Dentures.” Polident.com. https://www.polident.com/en-us/full-dentures/denture-care/fixing-broken-dentures/